Perfect Seared Duck Breast Recipe with Crispy Skin and Juicy Center
If you’ve ever ordered seared duck breast at a fine-dining restaurant and wondered how to make it at home, you’re in for a treat. This recipe delivers golden, crisp skin, tender pink meat, and rich, savory flavor. The best part? It’s easier than you might think. With the right technique, you can create restaurant-level duck right in your kitchen — and impress anyone at the table.
The Secret Behind Perfect Seared Duck Breast
The magic of seared duck breast lies in mastering two essential steps: rendering the fat and controlling the temperature. Duck skin contains a generous layer of fat, which must be slowly rendered out over medium-low heat to achieve that signature crispy texture. Meanwhile, keeping the interior tender and rosy ensures the meat stays juicy, flavorful, and perfectly cooked.
As a result, you get an incredible contrast — golden-crisp skin paired with a buttery, melt-in-your-mouth center. The process requires patience, but the reward is absolutely worth it.
Ingredients List
-
2 duck breasts, skin on (about 6–8 oz each)
-
1 teaspoon salt
-
1/2 teaspoon black pepper
-
1 teaspoon fresh thyme leaves (optional)
-
1 garlic clove, crushed
-
1 tablespoon unsalted butter
-
1 tablespoon honey or orange juice (optional, for glaze)
Optional Pan Sauce
-
1/3 cup chicken or duck stock
-
1/4 cup red wine or orange juice
-
1 tablespoon balsamic vinegar
-
1 tablespoon cold butter, for finishing
Step-by-Step Instructions
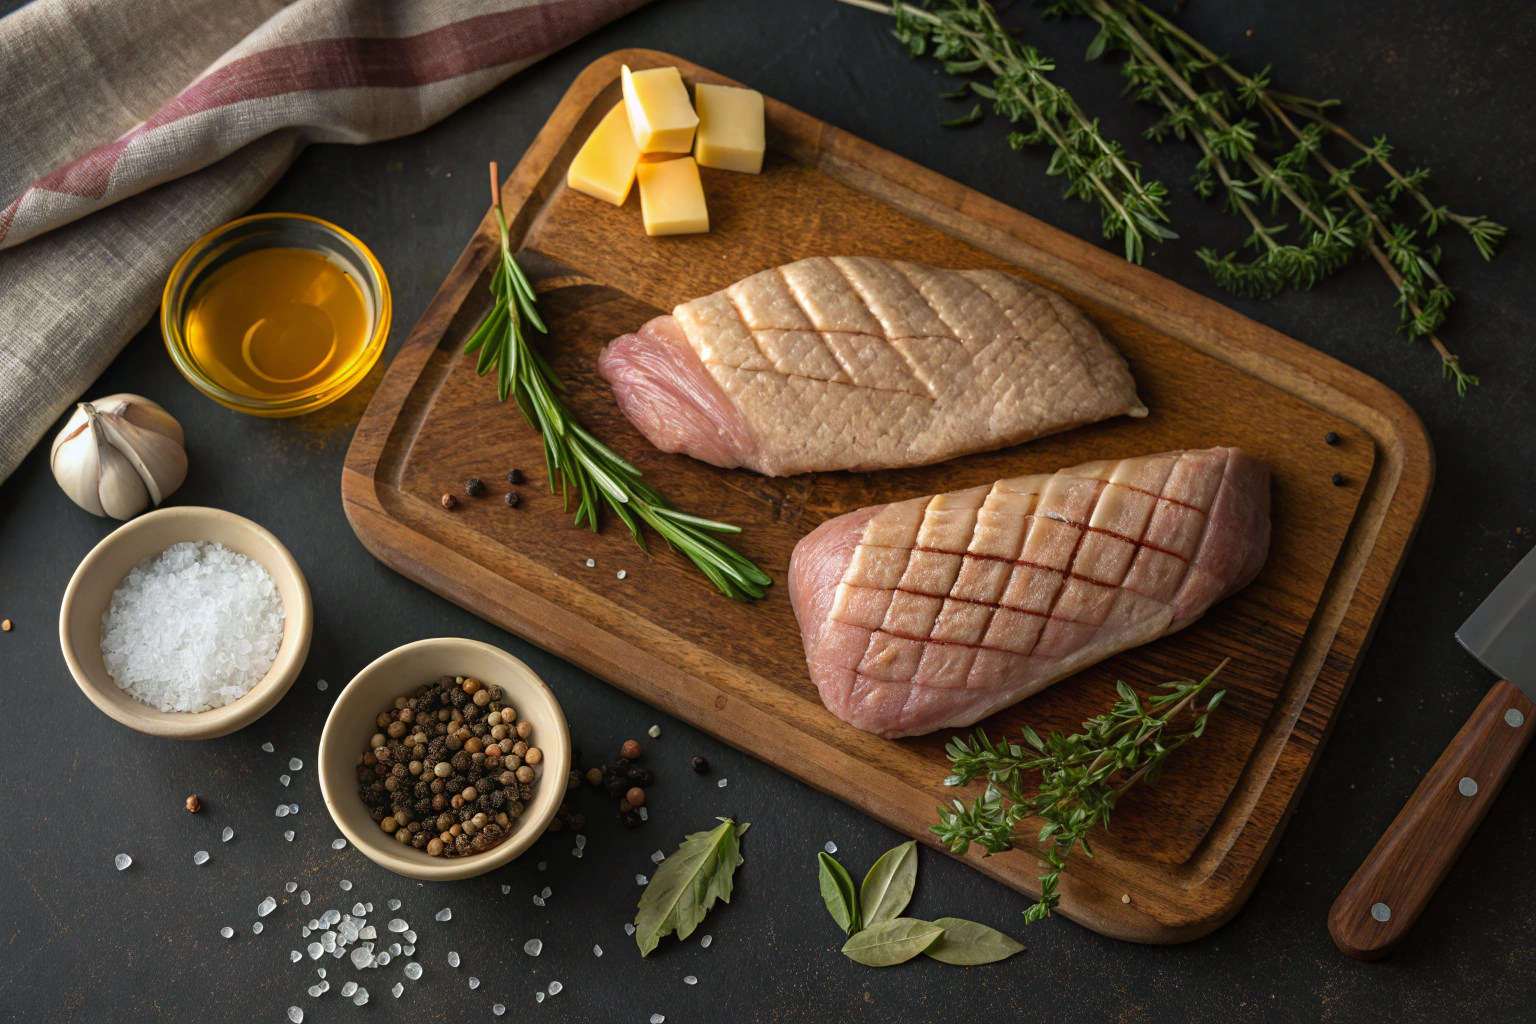
Step 1: Score and Season the Duck
-
Pat the duck breasts dry with paper towels. Moisture prevents crisping.
-
Using a sharp knife, score the skin in a crosshatch pattern, being careful not to cut into the meat.
-
Season both sides generously with salt, pepper, and thyme.
Pro Tip: Scoring helps render the fat more efficiently and makes the skin evenly crisp.
Step 2: Render the Fat
-
Place the duck breasts skin-side down in a cold skillet (no oil needed).
-
Turn the heat to medium-low and let the fat render slowly for 8–10 minutes, pouring off excess fat as it collects.
-
The skin should turn deep golden brown and crisp.
Pro Tip: Starting with a cold pan allows the fat to render gradually instead of trapping moisture, ensuring perfect crispness.
Step 3: Sear the Meat Side
-
Once the skin is crispy, flip the duck breasts and sear the meat side for 2–3 minutes.
-
Add butter and crushed garlic to the pan during the last minute for extra flavor.
-
For medium-rare, cook until the internal temperature reaches 130–135°F (54–57°C).
4: Rest the Duck
-
Transfer the duck breasts to a cutting board and let them rest for 5–7 minutes.
-
This allows the juices to redistribute, keeping the meat tender and flavorful.
Step 5: Make the Pan Sauce (Optional)
-
Pour off most of the rendered fat, leaving about 1 tablespoon in the skillet.
-
Add stock, wine (or orange juice), and balsamic vinegar.
-
Scrape the browned bits from the pan with a wooden spoon and simmer until slightly thickened.
-
Whisk in cold butter for a glossy finish.
-
Slice the duck and drizzle the sauce on top.
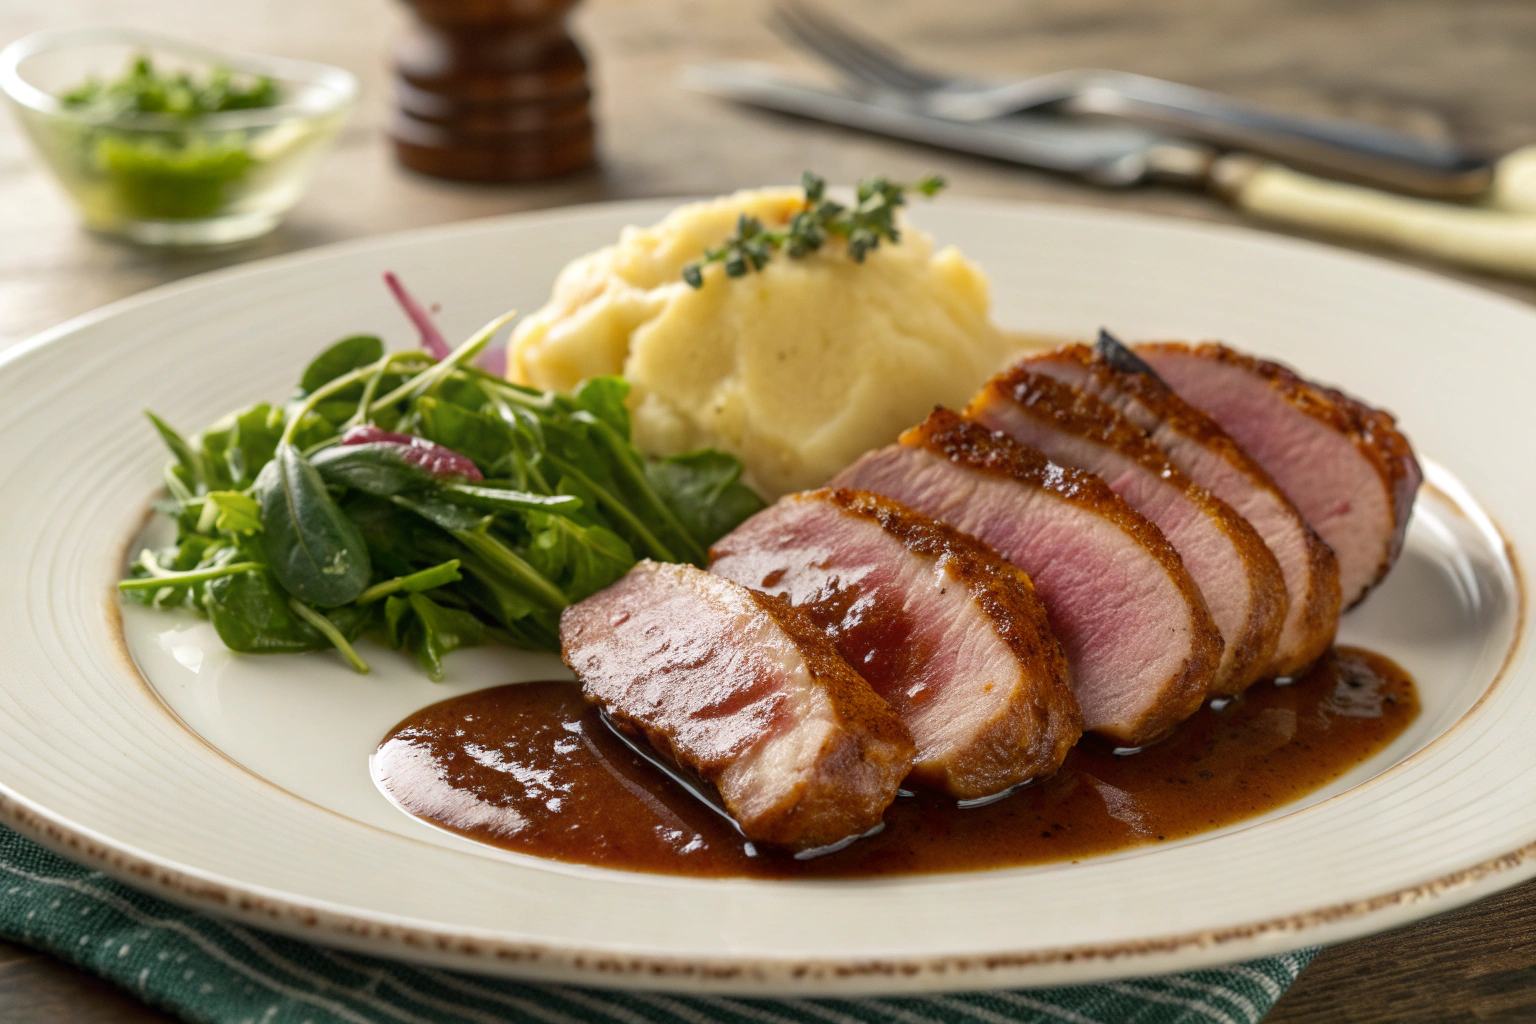
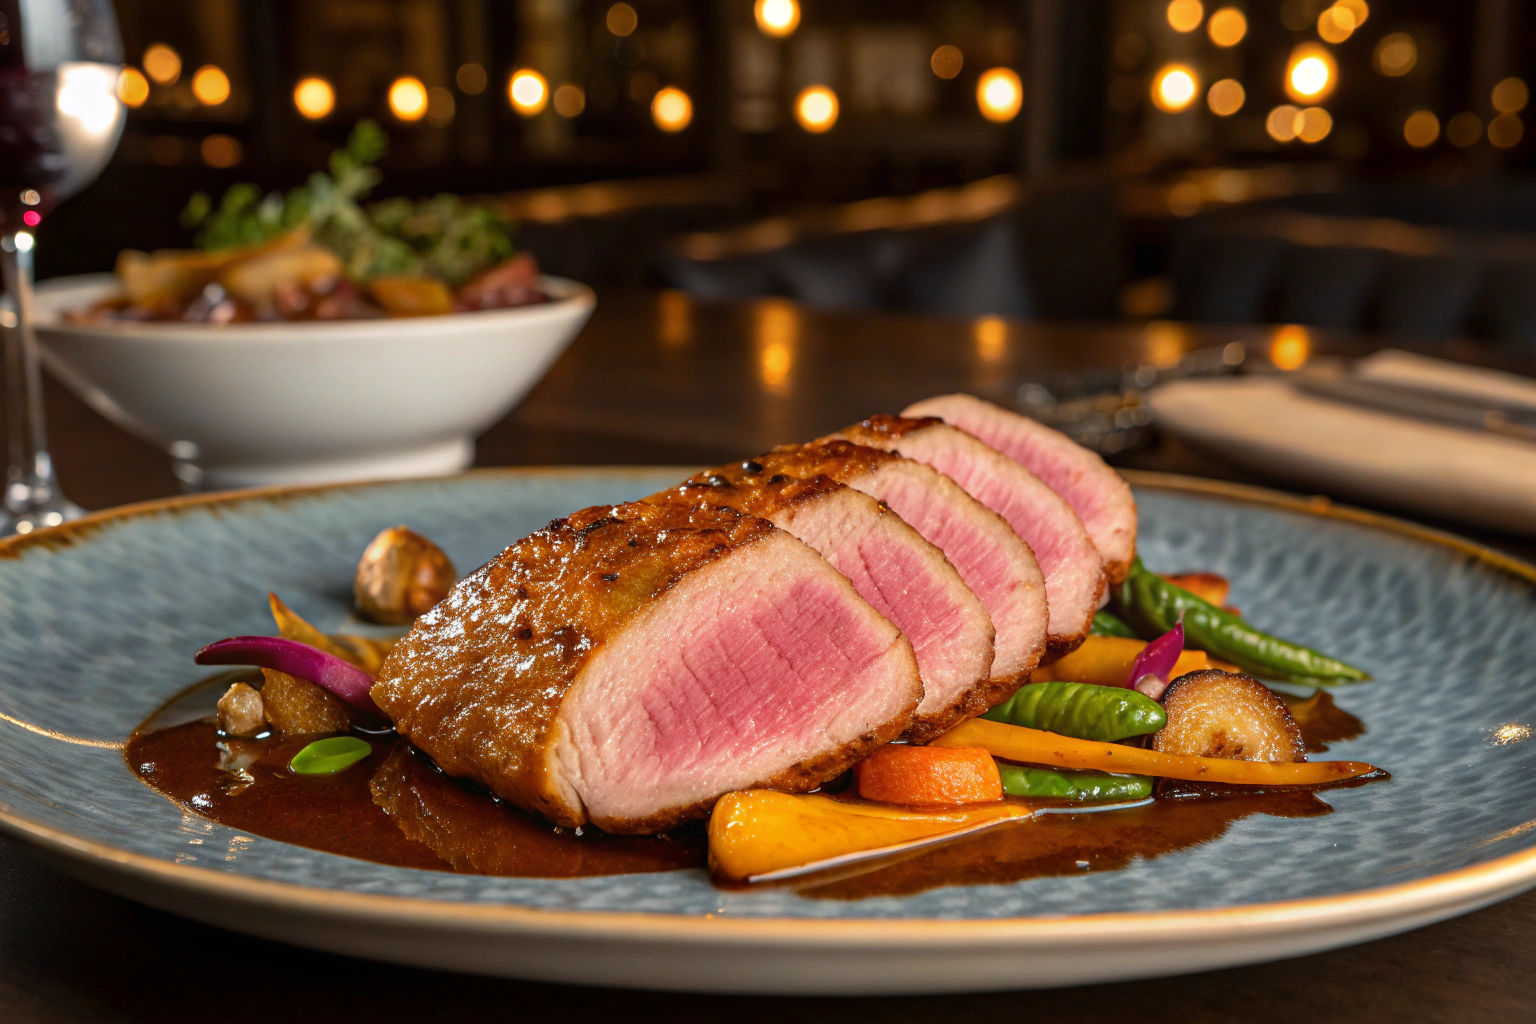
Presentation Idea: Fan out the sliced duck over a bed of mashed potatoes or roasted vegetables and spoon the sauce across the top for a restaurant-quality plate.
Flavor Variations
-
Orange-Glazed Duck: Brush with a mix of honey and orange juice during the last minute of cooking.
-
Garlic Herb Duck: Add rosemary and thyme sprigs to the pan while searing.
-
Asian-Style Duck: Glaze with soy sauce, hoisin, and a touch of sesame oil before serving.
-
Peppercorn Duck: Finish with a cracked pepper sauce made with cream and cognac.
Storage & Reheating Tips
-
Store leftover duck in an airtight container in the refrigerator for up to 3 days.
-
To reheat, warm gently in a skillet over low heat to preserve crispness.
-
Avoid microwaving — it can toughen the meat and soften the skin.
-
Duck fat can be strained and saved for roasting potatoes or vegetables.
Common Mistakes & How to Avoid Them
-
Starting with a hot pan: Always start cold to render fat properly.
-
Overcooking: Duck breast is best served medium-rare to medium for tenderness.
-
Skipping the rest period: Resting allows the juices to settle for a juicy bite.
-
Not draining the fat: Too much fat in the pan prevents even browning.
-
Cutting too soon: Slice only after resting to avoid losing moisture.
Why This Recipe Works
-
Begins in a cold pan to perfectly render fat and crisp skin.
-
Achieves tender, pink meat through precise temperature control.
-
Minimal ingredients highlight duck’s natural flavor.
-
Adaptable base for sweet, savory, or herbed variations.
-
Restaurant-quality result in under 30 minutes.
Final Thoughts
Cooking seared duck breast at home might sound intimidating, but once you learn the technique, it becomes surprisingly simple. The result — crispy skin, juicy meat, and rich flavor — is elegant enough for special occasions yet easy enough for a weeknight dinner. Serve it with roasted vegetables, mashed potatoes, or a citrus glaze for a dish that feels straight out of a restaurant kitchen.
Once you master this method, you’ll want to explore endless flavor variations, from sweet orange glazes to savory red wine reductions. However you choose to serve it, this seared duck breast recipe is pure culinary sophistication made simple.