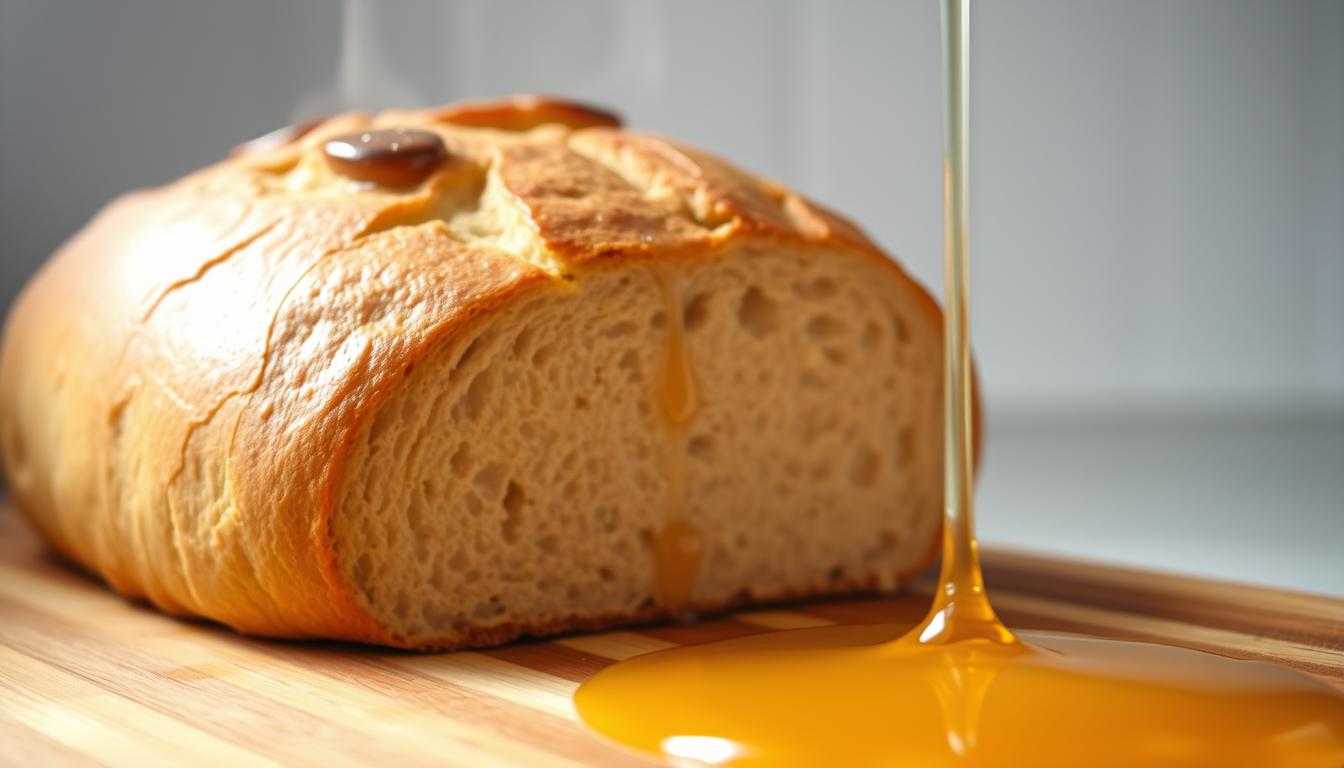
Imagine biting into a warm, fresh loaf of homemade honey wheat bread. The honey’s sweetness and the whole wheat’s earthiness are perfect together. Making this tasty bread at home is simple. It lets you choose what goes into it, avoiding additives found in store-bought bread.
With a basic honey wheat bread recipe, you can make delicious loaves. They’re great for sandwiches, toast, or just enjoying on their own. The steps include mixing, kneading, and baking, all explained clearly.
Key Takeaways
- Learn a simple recipe for homemade honey wheat bread.
- Understand the benefits of making bread at home, including control over ingredients.
- Discover the steps involved in making honey wheat bread, from mixing to baking.
- Enjoy freshly baked bread perfect for various uses.
- Appreciate the satisfaction of baking your own bread.
Introduction to Honey Wheat Bread
Explore the world of honey wheat bread, a healthy and tasty choice. It’s made with whole wheat flour and honey. This bread is great for your taste buds and your health.
What is Honey Wheat Bread?
Honey wheat bread mixes whole wheat flour with honey’s sweetness. It’s different from white bread, which loses nutrients. Whole wheat keeps the good stuff from the wheat grain.
Honey adds flavor and sweetness without using refined sugars. This makes the bread healthier and tastier.
Health Benefits of Honey Wheat Bread
Honey wheat bread is full of health perks. Whole wheat flour boosts fiber, which is good for your heart and digestion. Honey fights off germs and soothes a sore throat.
This bread is great for your health. Eating whole wheat can lower disease risks. It also helps with weight control and reduces sugar intake.
Why Make it at Home?
Homemade honey wheat bread lets you pick the ingredients. You can avoid preservatives and add just the right amount of honey. This way, you can make it as sweet as you like.
Baking at home is also fun and rewarding. It’s a calming activity that fills your home with a delicious smell. Making your own bread means you always have a fresh, healthy loaf ready.
Essential Ingredients for Honey Wheat Bread
Let’s talk about what you need for honey wheat bread. The quality of your bread comes from the ingredients you use.
Whole Wheat Flour
Whole wheat flour is the base of honey wheat bread. It gives the bread its texture and a nutty taste. Choose 100% whole wheat flour for the best nutrition.
Honey
Honey does more than sweeten the bread. It adds moisture and flavor. Use high-quality, pure honey for a better taste. Local honey can add a special flavor.
Yeast: Active Dry vs. Instant
Yeast makes the bread rise. You can use active dry yeast or instant yeast. Active dry yeast needs to be soaked before adding. Instant yeast goes straight into the dry ingredients. For honey wheat sandwich bread, instant yeast is quicker and easier.
Don’t forget salt, water, and sometimes grains or nuts for extra taste and texture. Using fresh, quality ingredients will improve your bread.
- Whole wheat flour
- Honey
- Yeast (active dry or instant)
- Salt
- Water
With these key ingredients, you’re ready to make tasty honey wheat bread at home.
Tools Needed for Baking
Before you start mixing, make sure you have the right baking tools. The right equipment is key for a great bread baking experience. This is especially true for a honey whole wheat sandwich loaf.
Mixing Bowls
You’ll need a big mixing bowl for your ingredients. Choose a bowl that’s big enough for everything and makes mixing easy. Stainless steel or glass bowls are best because they’re easy to clean and don’t hold smells.
Measuring Cups and Spoons
Getting the measurements right is very important in bread baking. Use dry and liquid measuring cups to get the right amounts. You’ll also need measuring spoons for adding yeast, salt, and other ingredients correctly.
Baking Pan or Bread Machine
You can bake your honey wheat bread in a traditional pan or a bread machine. A baking pan lets you control the loaf’s shape and crust. A bread machine makes the process easier by mixing, kneading, and baking for you.
| Tool | Purpose | Recommendation |
|---|---|---|
| Mixing Bowls | Combining ingredients | Stainless steel or glass |
| Measuring Cups and Spoons | Accurate measurements | Dry and liquid measuring cups |
| Baking Pan or Bread Machine | Baking the bread | Traditional baking pan or bread machine |
As you get ready to bake your honey whole wheat sandwich loaf, make sure you have these tools. With the right tools, you’ll be on your way to making a tasty homemade loaf.
Step-by-Step Preparation Process
Starting with freshly baked honey wheat bread is exciting. It involves several key steps to make your bread delicious and satisfying.
Mixing the Ingredients
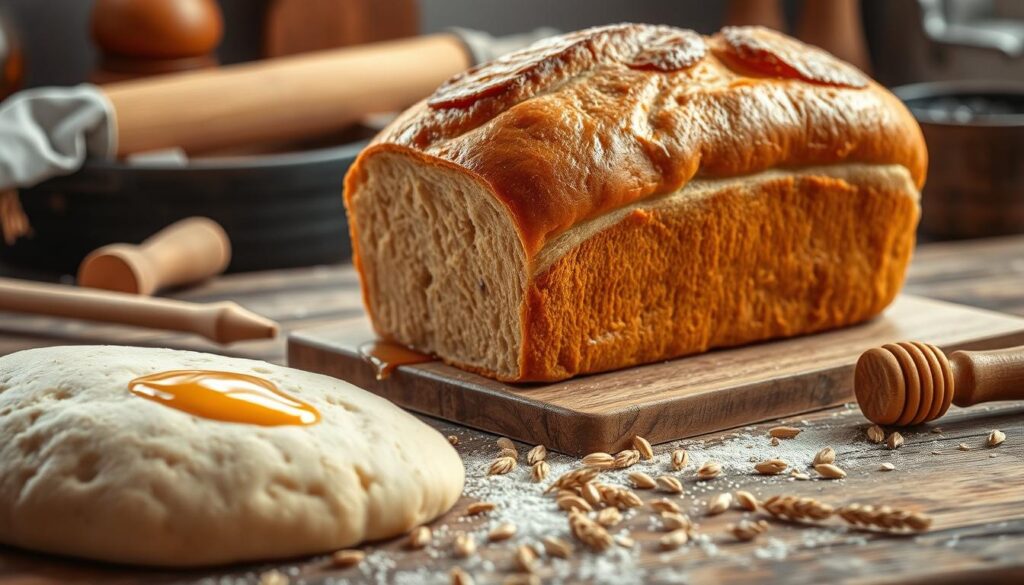
First, mix your ingredients together. In a large bowl, combine 2 cups of whole wheat flour, 1 cup of warm water, 2 tablespoons of honey, and 1 teaspoon of active dry yeast. Ensure your yeast is properly activated by checking the expiration date and using warm water (around 100°F to 110°F) to help it dissolve.
Mix these ingredients until they form a shaggy dough. You can use a stand mixer with a dough hook attachment or do this by hand with a wooden spoon. The goal is to mix all the ingredients evenly.
Kneading the Dough
Once your dough is mixed, knead it. Kneading develops the gluten in the dough, which gives your bread its structure and texture. You can knead by hand on a floured surface or use a stand mixer with a dough hook attachment.
Knead the dough for about 10 minutes, until it becomes smooth and elastic. To check if it’s ready, perform a simple windowpane test: pinch off a small piece of dough and stretch it between your fingers. If it forms a thin, translucent sheet without tearing, it’s ready.
First Rising Stage
After kneading, place the dough in a greased bowl, turning it to coat all sides. Cover it with plastic wrap or a damp cloth and let it rise in a warm, draft-free place. The ideal temperature for rising is around 75°F to 80°F.
Let the dough rise for about 1 hour, or until it has doubled in size. This stage is crucial as it allows the yeast to ferment the sugars, producing carbon dioxide and giving your bread its light, airy texture.
| Stage | Time | Temperature |
|---|---|---|
| Mixing | 10 minutes | Room Temperature |
| Kneading | 10 minutes | Room Temperature |
| First Rising | 1 hour | 75°F to 80°F |
“The art of bread making is a process that requires patience, but the reward is well worth the effort.”
Shaping Your Bread
Now that your dough has risen, it’s time to shape it into a beautiful loaf. Shaping is key in bread making. It affects your homemade honey wheat bread‘s look, texture, and crumb structure.
How to Shape the Loaf
To shape your loaf, start by gently deflating the dough on a lightly floured surface. Shape it into a round or oblong loaf, as you prefer. For a round loaf, fold the dough under itself from all sides towards the center, then flip it over and use your hands to create tension on the surface. For an oblong loaf, roll the dough into a tight cylinder and tuck the ends under.
Preparing for Second Rise
Once shaped, place your loaf on a baking sheet or proofing basket lined with parchment paper. Leave enough space for it to expand during the second rise. Cover it with a clean towel or plastic wrap to prevent drying out. The second rise, or proofing, allows the yeast to continue fermenting, giving your whole wheat honey bread its light and airy texture.
Tips for Perfect Loaf Shape
To achieve a perfect loaf shape, ensure your dough is at the right consistency – not too sticky, not too dry. Handle the dough gently to avoid over-working it, which can lead to a dense loaf. Also, make sure your workspace is lightly floured to prevent sticking. Finally, be patient during the shaping process, as rushing can result in an irregular shape.
By following these steps and tips, you’ll be able to create a beautifully shaped loaf of homemade honey wheat bread that’s sure to impress. Remember, practice makes perfect, so don’t be discouraged if your first loaf isn’t ideal – it’s all part of the bread-making journey.
Baking Your Honey Wheat Bread
Before you start baking your honey wheat bread, make sure your oven is hot and ready. Baking is key to getting a golden crust and a soft inside.
Preheating the Oven
It’s important to preheat your oven to the right temperature. Set it to 375°F (190°C), the best temperature for bread. Let it heat up for 15-20 minutes to get to a steady temperature.
Baking Time and Temperature
Put your shaped loaf in the oven and bake for 35-40 minutes. The time might change based on your oven and loaf size. Keep an eye on it towards the end to prevent overcooking.
- For a smaller loaf, bake for 25-30 minutes.
- For a larger loaf, bake for 45-50 minutes.
Checking for Doneness
To see if your bread is ready, look for these signs:
- The bread should be golden brown on top.
- It should sound hollow when tapped on the bottom.
- An instant-read thermometer inserted into the center should read 200°F (90°C).
Cooling and Storing Your Bread
Proper cooling and storage of your honey whole wheat sandwich loaf keeps it fresh. After baking, it’s key to handle your bread right to keep it fresh and quality.
Cooling the Bread Properly
Cooling your bread right is key to avoid moisture buildup. This can make the crust soggy or lead to mold. To cool your honey wheat sandwich bread well, take it out of the pan and put it on a wire rack. This lets air circulate and cool the bread evenly.
Let the bread cool for at least 30 minutes to an hour before slicing. This patience will reward you with better texture and flavor.
How to Store Honey Wheat Bread
After cooling, it’s time to store your honey whole wheat sandwich loaf. For short-term, keep it at room temperature in a bread box or paper bag. This works for up to 3 days.
If you won’t eat the bread in 3 days, store it in the fridge to keep it fresh longer. Wrap it tightly in plastic wrap or foil to stop it from drying out.
Freezing for Long-Term Storage
Freezing is great for longer storage. To freeze your honey wheat sandwich bread, wrap it in plastic wrap or foil, then in a freezer-safe bag. Don’t forget to label the bag with the date and what’s inside.
When you want to enjoy your bread, thaw it at room temperature or toast it straight from the freezer. Frozen bread can last up to 3 months.
Tips for Perfect Honey Wheat Bread
Want to make a tasty homemade honey wheat bread? Follow these tips to get it just right. It’s all about adjusting sweetness and avoiding common mistakes.
Adjusting Sweetness
Want your bread sweeter? Add more honey. Prefer it less sweet? Use less honey. Honey adds sweetness and moisture, changing the flavor.
Experimenting with Seeds and Nuts
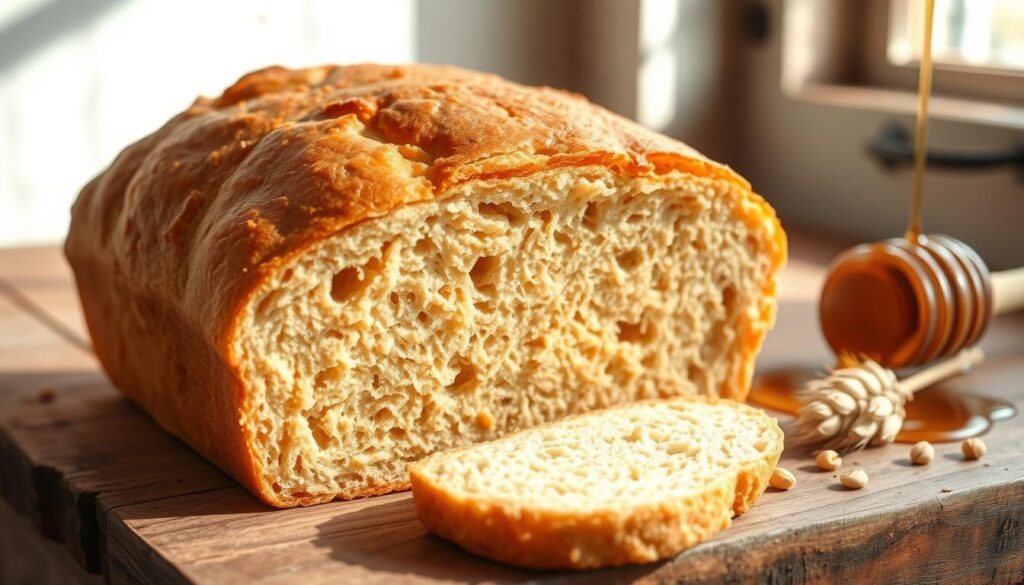
Seeds and nuts make your best honey wheat bread recipe better. Try adding walnuts, almonds, or sesame seeds. Here’s how:
- Choose your favorite seeds or nuts.
- Toast them lightly for extra flavor.
- Mix them into the dough.
Common Mistakes to Avoid
Make sure your homemade honey wheat bread is perfect. Avoid these mistakes:
| Mistake | Consequence | Solution |
|---|---|---|
| Overmixing the dough | Results in dense, tough bread. | Mix ingredients just until they come together. |
| Insufficient rising time | Leads to underproofed bread. | Allow the dough to rise until it has doubled in size. |
| Incorrect oven temperature | Affects the bread’s texture and crust. | Use an oven thermometer to ensure accuracy. |
Knowing these mistakes helps you avoid them. This way, you’ll make a top-notch loaf.
Variations on Honey Wheat Bread Recipe
Now that you’ve mastered the basic honey wheat bread recipe, it’s time to get creative. Try different ingredients to enhance flavor, texture, and nutrition.
Adding Whole Grains
Adding other whole grains to your honey wheat bread can make it more complex and nutritious. Think about adding oats, barley, or rye for a unique taste. Remember, different grains absorb moisture differently, so you might need to adjust the dough’s liquid content.
Incorporating Herbs and Spices
Herbs and spices can change your honey wheat bread’s character. Try rosemary and garlic for a savory loaf or cinnamon and raisins for something sweeter. Start with small amounts and adjust to taste, as herbs and spices can be quite strong.
Making it Vegan
To make a vegan version of honey wheat bread, replace honey with maple syrup or agave nectar. Also, make sure your yeast is vegan-friendly. You can try plant-based milks and egg replacers if needed.
Exploring these variations can lead to a wide range of tasty breads. Cater to different tastes and dietary needs. Don’t hesitate to experiment and create your own unique recipes.
Serving Suggestions
It’s time to enjoy your homemade honey wheat bread in many ways. Your honey wheat sandwich bread is ready to make delicious meals and snacks.
Delicious Toppings for Honey Wheat Bread
Adding tasty toppings is a simple way to enjoy your healthy honey wheat bread recipe. Here are some ideas:
- Avocado toast: Spread ripe avocado on your bread, add lemon juice, and a pinch of salt.
- Almond butter and banana: A healthy and tasty mix.
- Honey and walnuts: Sweeten your bread with honey and sprinkle chopped walnuts.
Pairing with Soups and Salads
Honey wheat bread goes well with many soups and salads. Here are some pairing ideas:
| Soup/Salad | Bread Preparation |
|---|---|
| Tomato Soup | Dip your bread or serve it on the side for a comforting combination. |
| Greek Salad | Serve your bread on the side or use it to make croutons for added crunch. |
| Butternut Squash Soup | A slice of honey wheat bread on the side complements the sweetness of the squash. |
Creative Sandwich Ideas
Your honey wheat sandwich bread is great for many sandwiches. Here are some creative ideas:
- Turkey and Brie: Layer sliced turkey, brie cheese, lettuce, and honey mustard for a gourmet sandwich.
- Veggie Delight: Stack roasted vegetables like zucchini, bell peppers, and eggplant, topped with goat cheese.
- Grilled Cheese: A classic comfort food made even better with the sweetness of honey wheat bread.
Try different fillings and toppings to find your favorite. The healthy honey wheat bread recipe is a nutritious base for tasty meals.
Conclusion
Now you know how to make the best honey wheat bread recipe. It’s time to make it a regular in your kitchen. This honey whole wheat sandwich loaf is great for any meal because of its wholesome ingredients and tasty flavor.
Recap and Refresh
The recipe starts with mixing whole wheat flour, honey, and yeast. Then, you knead and let it rise. The end result is a nutritious and tasty bread perfect for sandwiches, toast, or just enjoying by itself.
Experiment and Enjoy
Don’t be afraid to try new things with your bread. Add nuts, seeds, or herbs to make it your own. With a little practice, you’ll get better at making delicious, healthy bread right at home.
FAQ
What is the best type of flour to use for honey wheat bread?
Whole wheat flour is the top choice for honey wheat bread. It gives a nuttier taste and a coarser texture. You can also try Kamut or spelt for extra nutrition.
Can I use instant yeast instead of active dry yeast?
Yes, instant yeast works well as a substitute. But remember, it’s more potent. So, you’ll need to adjust the amount in the recipe.
How do I store honey wheat bread to keep it fresh?
Store honey wheat bread in an airtight container at room temperature for up to 3 days. You can also freeze it for up to 2 months. Thaw it at room temperature or in the fridge.
Can I make honey wheat bread without a bread machine?
Yes, you can make honey wheat bread without a bread machine. Just mix, knead, and bake the dough in a conventional oven.
How do I adjust the sweetness of honey wheat bread?
To change the sweetness, adjust the honey amount in the recipe. Start with a small amount and taste before adding more.
What are some common mistakes to avoid when making honey wheat bread?
Avoid overmixing the dough, not letting it rise enough, and overbaking. Watch your dough closely and adjust as needed.
Can I make honey wheat bread vegan?
Yes, you can make honey wheat bread vegan. Use maple syrup instead of honey and choose vegan-friendly yeast.
How do I achieve a perfectly shaped loaf?
For a perfect shape, gently shape the dough into a round or oblong. Let it rise in a proofing basket or on a baking sheet with parchment paper.

