 Gipfeli Recipe: Flaky Swiss Crescents[/caption]
Are you intrigued by flaky Swiss pastries that melt in your mouth? Then you’ve come to the right spot. In this article, we’ll walk you through a gipfeli recipe that will bring authentic Alpine charm to your kitchen. We’ll explore its cultural background, cover detailed ingredients, and discuss step-by-step methods so you can confidently bake your own batch of golden crescents. Moreover, we’ll share tips for storing, serving, and customizing these pastries. By the end, you’ll know exactly how to craft gipfeli recipe pastries that are both fluffy and irresistibly layered. Let’s begin this baking adventure together!
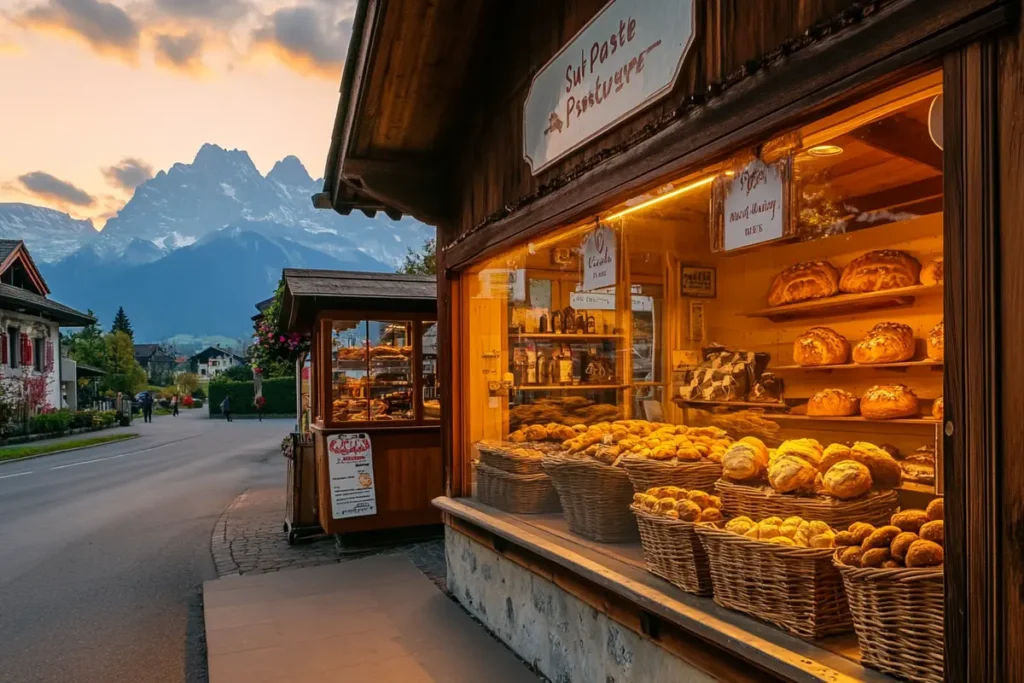
Switzerland is famous for its breathtaking landscapes, meticulous craftsmanship, and delicious baked goods. One of the country’s prized treats is the gipfeli recipe, a pastry often compared to a French croissant. However, Swiss bakers typically use a slightly different dough and shaping method. The result is a pastry that has a crisp exterior and a soft, subtly sweet interior. While traveling through Switzerland, you’ll see these pastries displayed in bakery windows, especially in the early mornings.
But do you need a Swiss passport to enjoy them daily? Certainly not. You can replicate the taste of Switzerland in your own home. Whether you’re a baking novice or an experienced pastry enthusiast, this guide has you covered. We’ll delve into everything from selecting the best flour to troubleshooting dough that refuses to rise. After all, baking is part science, part art. With a bit of patience and practice, you’ll soon achieve that light, puffy texture that defines a perfect gipfeli recipe.
It helps to learn a bit about Swiss pastry culture before diving deeper into the gipfeli recipe. At many Swiss cafés, freshly baked pastries play a crucial role in the morning routine. Locals might pair a warm pastry with a cup of coffee or hot chocolate, savoring the comforting flavors. Indeed, Swiss people take pride in using fine ingredients, such as high-grade butter and flour, to create dough that’s both tender and robust.
However, Swiss baking differs from region to region. Some areas prefer a slightly sweeter dough, while others keep sugar to a minimum. Essentially, each region adds its own twist to the basic foundation. Yet, the love for flaky, butter-kissed pastries remains constant. This focus on tradition is what shapes the gipfeli recipe into something truly special. Consequently, even if you vary a few details, the heart of the pastry continues to reflect Swiss devotion to quality and craftsmanship.
A true gipfeli recipe yields more than just a croissant clone. Many who’ve sampled both notice that Swiss crescents have a milder, more understated flavor. They also feature a shape that can be slightly straighter than the classic French croissant. In addition, the dough often incorporates a touch less butter than French pastry dough does. That said, there’s still enough richness to create lovely, flaky layers when baked.
Moreover, the gipfeli recipe includes a gentle sweetness that complements jams and preserves nicely. This subtle balance sets them apart from purely savory rolls. Once you bite into a well-baked Swiss crescent, you’ll notice the crisp outer shell giving way to a tender, airy interior. If you close your eyes, you might even imagine yourself at a small bakery nestled among Swiss Alps, taking in the fresh morning air.
Every pastry begins with the right combination of ingredients. While slight variations exist, the following basics remain crucial for an authentic gipfeli recipe:
These ingredients fuse to form the classic base. Occasionally, you may see recipes that call for a bit of cream or fewer eggs, but the eight listed components above remain standard. Remember to measure precisely for best results, especially if you’re a beginner.

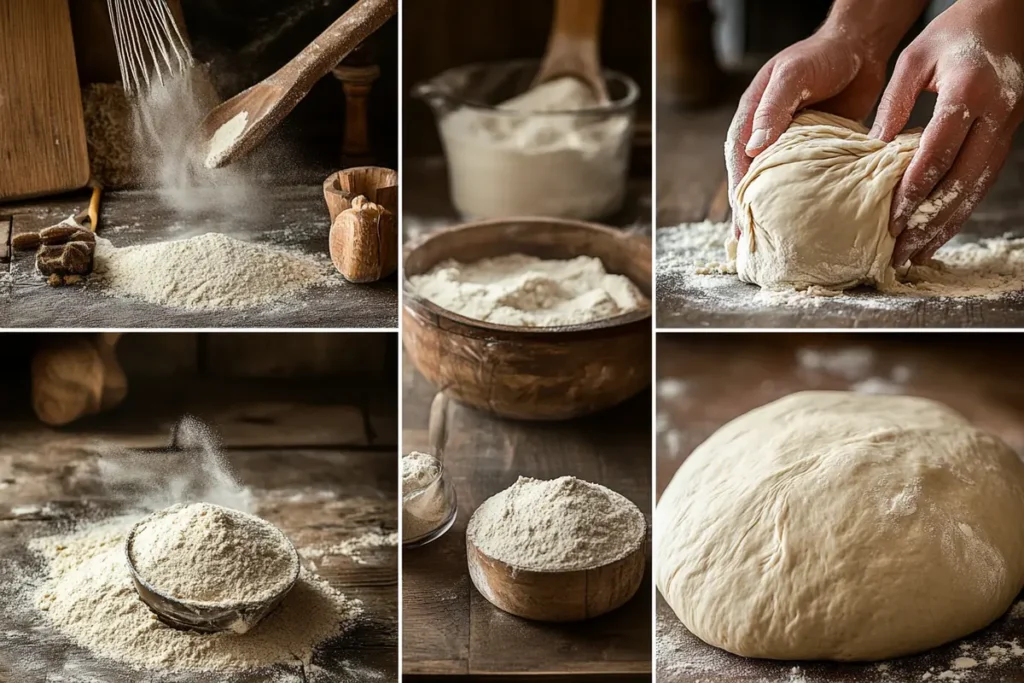
Most beginners assume that a gipfeli recipe is complicated. However, the steps are actually straightforward once you break them down. The main tasks involve mixing, resting, folding, proofing, and baking. Let’s walk through each part, starting with dough prep.
During these initial stages, patience is key. The yeast needs time to develop carbon dioxide and stretch the dough’s gluten strands. Meanwhile, the dough’s mild sweetness and subtle saltiness begin to meld, creating an inviting aroma even before it goes into the oven.
Once your dough completes its first rise, you’ll move on to the folding process—the pivotal difference between an average roll and a layered gipfeli recipe. While the technique may seem intimidating, don’t fret. You just need to keep your butter cold and your dough chilled as necessary.
By systematically folding butter into the dough, you create many thin layers. When baked, steam from the butter lifts the dough, forming that flaky structure. The key is to keep everything cold. If the butter melts, you lose distinct layers and end up with a dense pastry.
Now that you’ve folded the dough, it’s time for the second shaping. This step truly defines the look of your gipfeli recipe.
During this stage, a warm, draft-free environment can accelerate the second proof. You want them to expand, but not balloon so large that they lose shape. Keep an eye on them. The moment they feel soft to the touch and look slightly bigger, you’re ready for the oven.
Baking is where your patience pays off, and your house will fill with the tempting scent of warm pastry. Here’s how to nail it:
Baking times can differ slightly per oven, so watch carefully. The color often reveals more than a strict timer. Once you find your sweet spot, note it down for future reference. And remember, the gipfeli recipe thrives on precise baking, so aim for that perfect golden shade.
Sticking to a standard gipfeli recipe is wonderful. However, variety can keep your baking exciting. Below are some ideas to customize your pastries:
When experimenting, keep the ratio of added ingredients moderate so the pastry structure remains intact. If a filling is too wet, consider sprinkling cornstarch or flour on it to absorb moisture. The beauty of the gipfeli recipe lies in its adaptability, so feel free to explore.
A freshly baked batch of gipfeli recipe pastries can brighten anyone’s day. Here’s how you might serve them:
The gipfeli recipe can also serve as a thoughtful homemade gift. Bundle a few pastries in a decorative box or basket. Your friends and family will appreciate the personal touch.
Despite your best efforts, sometimes things go awry. Here’s how to overcome typical gipfeli recipe hurdles:
These simple fixes can often rescue a struggling batch. Stay calm and approach each misstep as a learning opportunity. Baking is a skill that develops over time, and each challenge conquered is a small victory for your technique.
You might not finish your entire gipfeli recipe batch in one day. That’s okay—these pastries can stay fresh if you store them properly.
Avoid leaving them uncovered on the counter for extended periods, as they’ll dry out. Also, keep in mind that butter-rich pastries pick up flavors from other foods. If your fridge holds strong-smelling leftovers, store your gipfeli recipe pastries in airtight packaging. That precaution helps preserve their delicate flavor.
Homemade pastries often draw smiles from friends and family. There’s something heartwarming about offering a basket of warm gipfeli recipe crescents to guests or neighbors. Whether you’re hosting a birthday, holiday brunch, or just a casual coffee date, these pastries add a special touch. Moreover, teaching loved ones how to make them can become a memorable bonding experience in the kitchen. Rolling dough side by side, folding butter layers, and laughing over flour-dusted aprons fosters closeness.
In many Swiss homes, children learn basic dough handling early. The tradition of passing down culinary knowledge ensures that recipes like these remain part of daily life. When you share a homemade pastry, you’re not just giving someone food. You’re offering them a piece of Swiss heritage, a testament to the artistry behind each layer.
Encourage others to try their hand at a gipfeli recipe, even if they’re new to baking. Guide them through kneading, shaping, and patience during proofing. And if at first they don’t succeed, there’s always the chance to savor the taste anyway. After all, even the “less-than-perfect” pastries can still be devoured happily with a smear of jam.
Ultimately, this gipfeli recipe invites you to create a slice of Switzerland wherever you live. Indeed, these pastries blend tradition, flavor, and technique into each bite. From mixing flour and yeast to carefully laminating butter between dough layers, every step shapes a truly special treat. While the process might seem detailed, consistent practice will lead to delicious, golden results. Consequently, your friends and family will line up for just one more taste. Whether you stick to the classic approach or explore fillings like chocolate or cheese, let your creativity shine. Most importantly, remember that each puff of steam and every crisp layer in a gipfeli recipe signals the warmth and delight of homemade baking. So gather those ingredients, roll up your sleeves, and embrace the simple joy of freshly baked Swiss crescents in your own kitchen.
For more recipes : Chex Mix Recipe Oven: Irresistibly Crunchy Snack