Rice Krispie Treats Recipe – Soft, Chewy, and Gooey Perfection
Few desserts bring back childhood memories like Rice Krispie Treats. With just three simple ingredients — butter, marshmallows, and crispy rice cereal — you can whip up a sweet, chewy classic in minutes.
They’re perfect for bake sales, parties, or an easy afternoon treat. Whether you’re making them for kids or craving something nostalgic yourself, these no-bake bars are always a crowd-pleaser.
The secret to the perfect Rice Krispie Treat lies in getting the right balance of gooey marshmallow and crispy cereal — and that’s exactly what this recipe delivers.
The Secret to the Perfect Rice Krispie Treat
It’s easy to make Rice Krispie Treats, but getting that ideal chewy texture takes a little know-how.
The trick is low heat and fresh marshmallows. If you rush the melting process or use stale ingredients, the treats can turn hard instead of soft.
Here’s what makes this recipe foolproof:
-
Low and slow melting for smooth marshmallow cream.
-
Extra marshmallows for ultra-gooey texture.
-
Butter for richness and flavor.
-
A gentle mix so the cereal stays crisp, not crushed.
With these tips, every bite will have that irresistible soft chew.
Ingredients List
Classic Rice Krispie Treats:
-
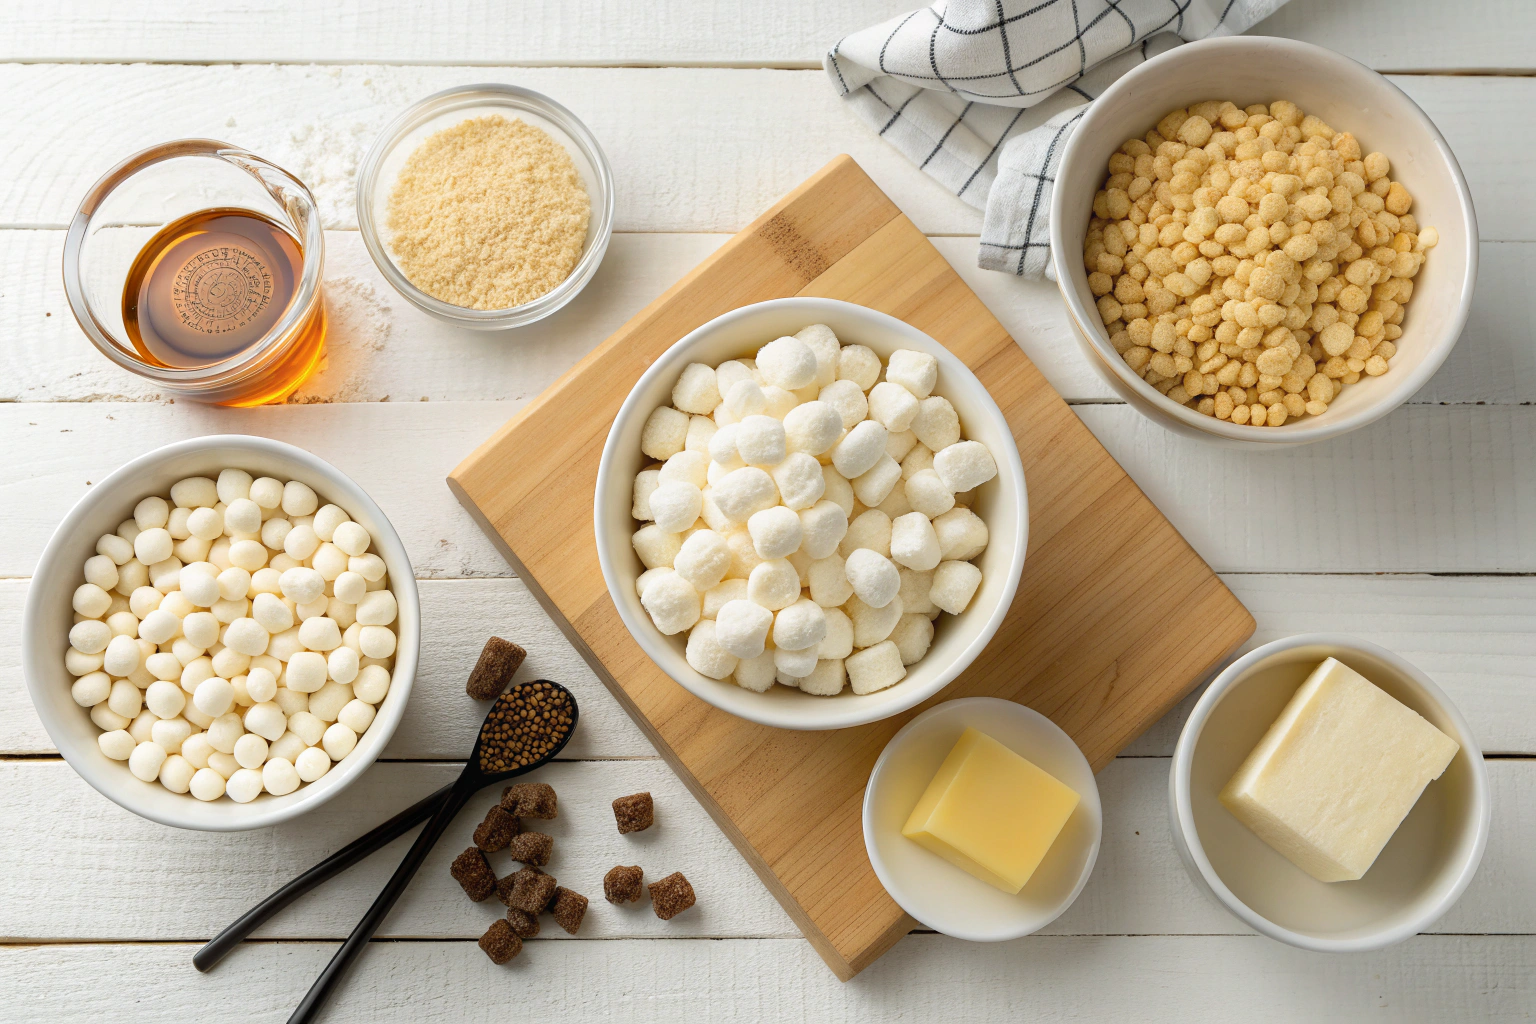
6 cups Rice Krispies cereal
-
4 tbsp unsalted butter (plus a little for greasing)
-
1 (10 oz) bag mini marshmallows (about 6 cups)
-
1 tsp vanilla extract (optional, but highly recommended)
-
Pinch of salt
Optional Add-Ins:
-
½ cup mini chocolate chips
-
½ cup M&Ms
-
¼ cup sprinkles
-
½ cup peanut butter for a nutty version
Step-by-Step Instructions
Step 1: Prepare Your Pan
Grease a 9×13-inch baking dish lightly with butter or line it with parchment paper for easy removal. Set aside.
Pro Tip:
Parchment helps lift the treats out neatly for perfect cutting later.
Step 2: Melt the Butter
In a large saucepan, melt butter over low heat. Don’t rush this step — you want it completely melted but not browned.
Pro Tip:
Using low heat ensures the marshmallows melt smoothly without overcooking, which keeps your treats soft.
Step 3: Add the Marshmallows
Add the mini marshmallows to the melted butter. Stir constantly until fully melted and smooth.
Remove from heat, then stir in vanilla extract and a pinch of salt to balance the sweetness.
Pro Tip:
For extra gooey treats, reserve 1 cup of mini marshmallows to fold in later — they’ll create pockets of marshmallow goodness.
Step 4: Mix in the Cereal
Working quickly, pour in Rice Krispies cereal and fold gently with a buttered spatula until evenly coated. Avoid crushing the cereal — just stir until everything is combined.
If you saved extra marshmallows, fold them in now for that extra-chewy texture.
Step 5: Press and Cool
Transfer the mixture into your prepared pan.
Using a buttered spatula or wax paper, gently press it down evenly. Don’t press too hard — that can make the bars dense.
Let cool at room temperature for about 30–40 minutes before cutting into squares.
Pro Tip:
A light touch makes all the difference. The looser you pack it, the softer it stays.
Flavor Variations
-
Chocolate Drizzle: Melt ½ cup chocolate chips and drizzle over cooled treats.
-
Peanut Butter Swirl: Stir ¼ cup peanut butter into the melted marshmallows before adding cereal.
-
S’mores Style: Add mini chocolate chips and crushed graham crackers.
-
Birthday Cake: Mix in rainbow sprinkles and a splash of almond extract.
-
Salted Caramel: Drizzle caramel sauce over the top and sprinkle with sea salt.
Each twist keeps that nostalgic Rice Krispie base while adding your own signature touch.
Storage & Make-Ahead Tips
-
Room Temperature: Store in an airtight container for up to 3 days.
-
Avoid Refrigeration: The cold makes them hard — keep them at room temp for the best texture.
-
Freezing: Wrap tightly in plastic wrap and store for up to 1 month. Thaw at room temperature before serving.
Pro Tip:
Add a slice of white bread to the container — it helps keep the treats soft and chewy.
Common Mistakes & How to Avoid Them
-
Overheating the marshmallows: Leads to hard, brittle treats. Melt slowly over low heat.
-
Pressing too firmly: Makes the bars dense instead of chewy.
-
Not greasing your spatula: The mixture sticks easily — a buttered spatula saves frustration.
-
Using old marshmallows: Fresh marshmallows melt smoother and give better texture.
Pay attention to these small details for bakery-quality results.
Why This Recipe Works
-
Perfectly balanced ratio of marshmallow to cereal.
-
Low-heat method keeps the treats soft and chewy.
-
Versatile base recipe allows endless variations.
-
Quick and easy — done in under 15 minutes!
-
Kid- and crowd-approved every single time.
It’s no wonder Rice Krispie Treats remain a timeless favorite.
Nutrition Information (Per Square)
(Based on 15 servings)
-
Calories: 130 kcal
-
Protein: 1g
-
Fat: 3.5g
-
Carbohydrates: 25g
-
Sugars: 12g
-
Sodium: 90mg
Light, sweet, and perfect for satisfying that dessert craving without overindulgence.
Serving Suggestions
-
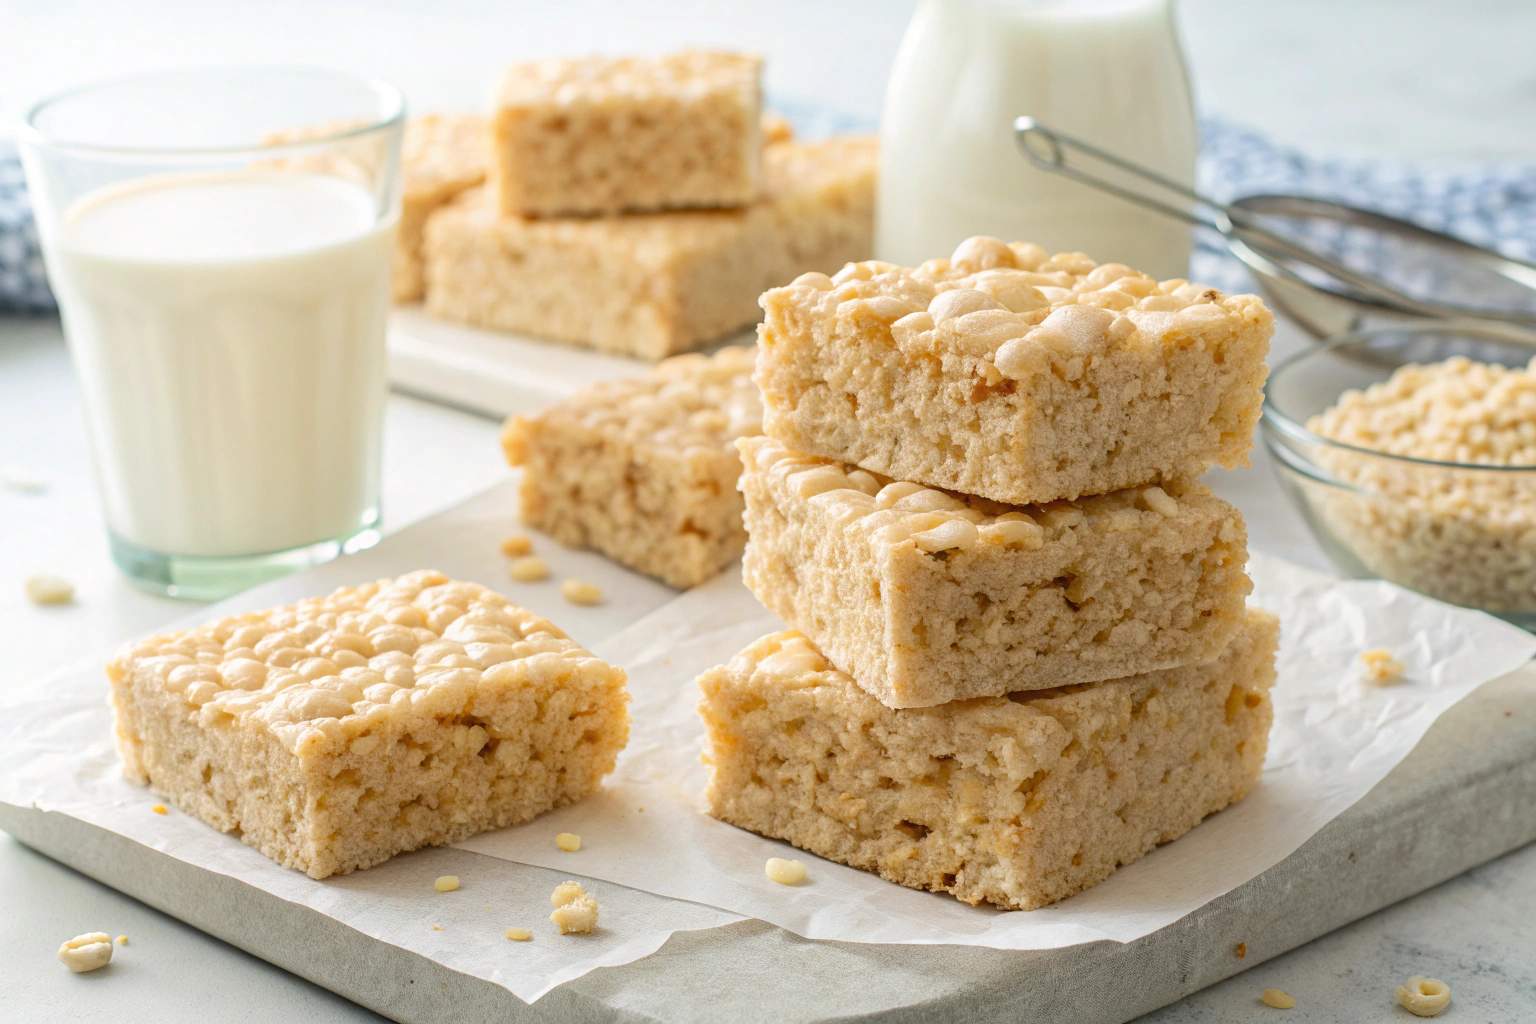
Serve at room temperature with a glass of milk or hot cocoa.
-
Cut into mini squares for party platters or holiday trays.
-
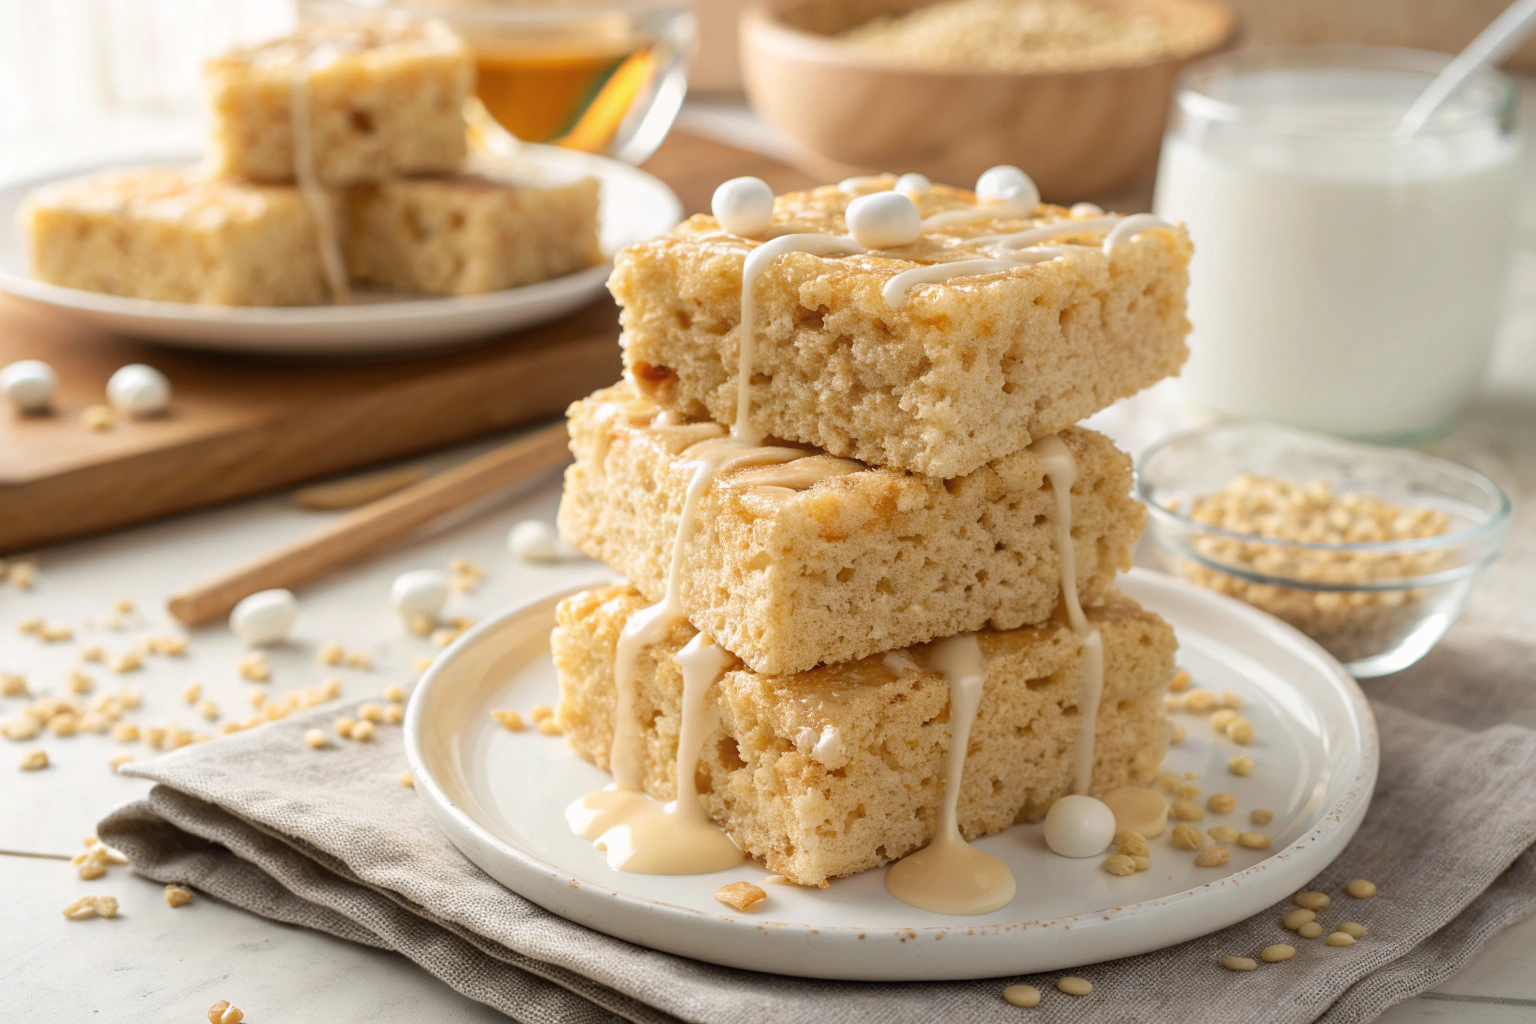
Drizzle with white chocolate and top with festive sprinkles for seasonal treats.
-
Use cookie cutters to shape them for birthdays or themed events.
They’re simple to make, easy to transport, and always disappear fast.
Final Thoughts
There’s something magical about Rice Krispie Treats — they’re simple, nostalgic, and bring joy to every occasion. With just a few pantry ingredients and a little patience, you can create chewy, buttery perfection that tastes even better than store-bought versions.
Whether you stick to the classic recipe or add your own creative twist, this is one dessert that never goes out of style.
Soft, gooey, and oh-so-satisfying — these Rice Krispie Treats are a guaranteed hit every single time.
Category: Dessert